Marbling
How to Create Marbling
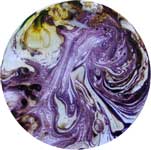
Marbling is a simple process of taking prints from the surface of water. It is a traditional method, the results of which were often used for the decorative end papers of books.
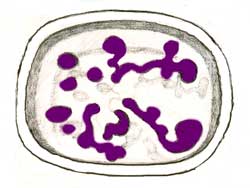
Use a shallow container of cold water for the marbling bath, large enough for the paper to lie flat on the surface. For a range of really good effects, the water can be thickened using Elmer’s Glue−All (or similar). Oil colours, thinned with turpentine, are laid on the surface of the water with a brush or a dropper available from some art materials shops.
If using more than one colour, use a separate brush for each colour. When enough colours have been applied, gently move the colours around with a pencil tip, plastic table fork or a simple comb made from stiff card, to mingle the colours as required.
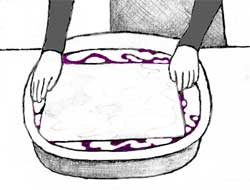
A sheet of paper is then laid upon the surface of the water, and peeled off almost immediately – a certain amount of the oil colour adheres to the paper forming the familiar ‘marbled’ effect. If using Elmer’s Glue−All in the water, some glue will remain on the print leaving a white film over the colours. This will disappear as the print dries.
Either hang the paper up, or lay it on a flat surface to dry then press, sandwiched between plain papers, in a heavy book, to flatten.
Inbetween taking prints, clean the surface of the water by dragging a sheet of newspaper over to pick up any remaining paint.
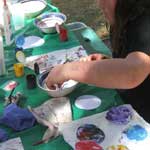
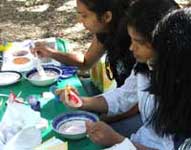
Marbling Workshop by HuiMin at the I−Center, Stanford University
