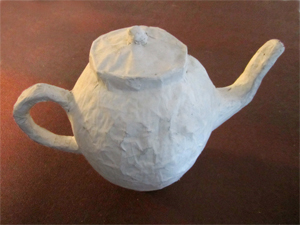
Teapot
- Newspaper
- Balloon
- Florist’s stem wire
- Masking tape
- White tissue paper
- Wire cutters
- Elmer´s School Glue (or similar)
- Paintbrush, gluebrush
- Acrylic or poster paints
How to make a Paper Teapot.
Blow up a balloon to the size you want to make your teapot. (It’s a good idea to temporarily tape the balloon to a mug or vase to keep it stable whilst you work on it).
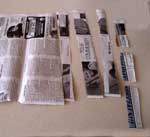
- Tear strips of newspaper along the grain, about 3 x 1 inches.
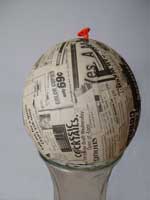
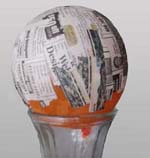
- Fix the balloon to a vase with 4 or 5 tabs of tape. Glue the strips over half of the balloon and leave to dry.
- Turn the balloon over, refix to the vase, then cover completely and leave to dry.
- Repeat steps 2 and 3 to build up three or four layers.
Step 4

Step 3
Step 2
Step 1
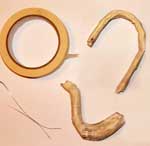
Make the spout by rolling newspaper into a tight tube – fasten it with masking tape, then push a length of florist’s stem wire down the center of the tube, bend into shape adding extra layers around the spout as required. Repeat this to make another wired tube for the handle. Bend the handle to the required shape,(cut off any surplus to get the right length) thickening with more paper layers if required. Fasten the handle and spout securely with masking tape to opposite sides of the teapot. Thicken the spout where it joins the teapot by gluing some more strips of newspaper around it.
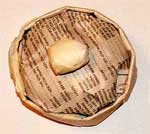
Make the lid from a smaller roll of newspaper bent into a circle. Tape it in position on top of the teapot. Fill in the circle by gluing a small amount of newspaper inside the circle to give a flat top. Make a knob from a small ball of newspaper and glue it on the center of the lid. The base is made in a similar way - a circle made from a flattened roll of newspaper glued to the bottom of the teapot.
To give your teapot a strong smooth surface, cover completely with glued white tissue strips – leave to dry and then paint.


