Swan
- Newspaper
- White Tissue Paper
- Small piece of Thick Card
- Florist´s Stem Wire
- Masking Tape
- Scissors
- Hot Glue Gun
- Elmer´s School Glue (or similar)
- Gluebrush
- Poster or Acrylic Paints
- Small Paint Brushes
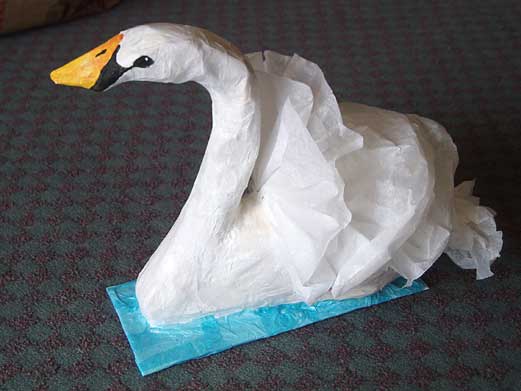
How to make a Paper Swan
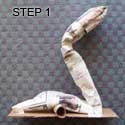
1. Begin the swan by making a paper roll from several sheets of newspaper taped securely. The roll must be long enough to make the head, neck and body of the swan. Insert a length of florist´s wire down the tube and bend the tube into the shape of a swan, (the head, neck and body). Tape the body section firmly onto a rigid base of thick card.
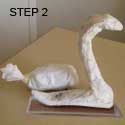
2. The body of the swan is made from a fat parcel of newspaper, covered with white tissue paper and fastened with masking tape, leaving a small fan of tissue at the back as shown in step 2 below. The parcel is then taped to the body section of the tube.
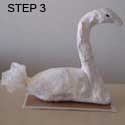
3. The head section of the tube can be made fatter by adding a couple of extra layers of paper. Make a beak from two pieces of thin card and fasten to the head with tape. Cover the whole bird with glued strips of white tissue paper and leave to dry.
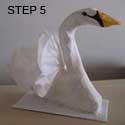
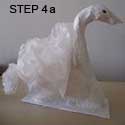
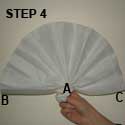
4. When dry, make several fan shapes out of doubled white tissue sheets, taping the centre of each fan at (A). Attach each fan shape carefully to the swan, by placing three dabs of hot glue, one on top of the back and one at each side, attaching the fan at points A,B and C. Once a fan is fixed in place, add more dabs of glue if required. Start with the fan nearest to the neck and work towards the tail to make a series of fan effects, reducing each fan in size before attaching it.
5. Paint the face details, (beak and eyes) to complete the swan. The base can be painted white then covered with glued strips of blue tissue paper.
The five steps in making the Swan.
