Tidy Boxes
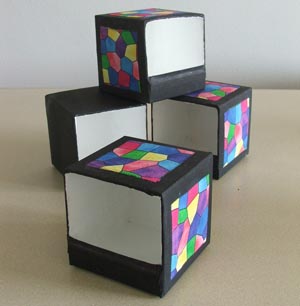
- Empty milk or fruit juice cartons (washed)
- White copy paper
- Scissors
- Masking tape
- Paints (White and coloured)
- Elmer´s School Glue (or similar)
- Paintbrush, glue brush
- Ruler & black felt tip pen
How to make useful Tidy Boxes
Use empty juice or milk cartons (well washed out) to make these useful little boxes. Great for keeping little bits and pieces in, they can be used individually or several can be fastened together to make "pigeon holes". Alternatively you can add a ledge on the front to make a useful tidy box for a desk.
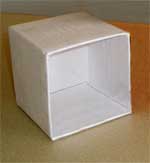
Square open box
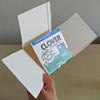
Step 3
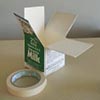
Step 2
Step 1
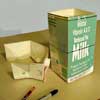
1. To make a square open box, begin by measuring the width of the carton, and then measure the same distance up from the bottom of the carton, and draw a line around all four sides at this height. Draw another line around the carton the same distance above the first line. Cut around the top line to remove the top of the carton.
2. Cut downwards at each corner from the top edge to the first line.
3. Fold the four flaps inside the box to make the sides double thickness then fasten with masking tape.
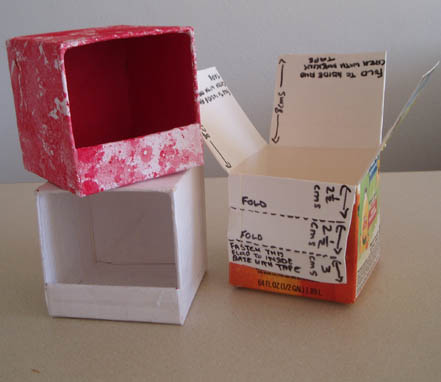
To make a tidy box with a front ledge, fold three of the flaps as described above, but double the last flap over about 2cm from the rim of the box − fold up to make a ledge as shown above, taping the remainder of the flap flat inside the box. Secure the corners of the ledge inside and outside with masking tape.
White copy paper, glued to the inside and outside of the boxes makes a good surface for painting them. Alternatively, decorate the box by gluing some colourful marbled paper on each side.


